Way back when I was finishing up high school, I really wanted to be a full-time photographer, but I just didn’t have the background and expertise for an art-based college education. I was always the girl carrying around a camera, borrowing my mom’s DSLR whenever I had the chance. But the truth is, I never really learned how to take beautiful photos aside from having a nice camera and letting it run on auto mode.

One of the reasons I started this blog was that I was so drawn to the artistic visuals I saw on other blogs I was following. I never made it to photography school (business and marketing were a better fit for me), but I’m using this blog as an opportunity to learn. My photos have come a long way in the past year or so, but I have so much to learn. I’ve signed up for a few classes and I’m so excited to take this blog to the next level with what I learn.

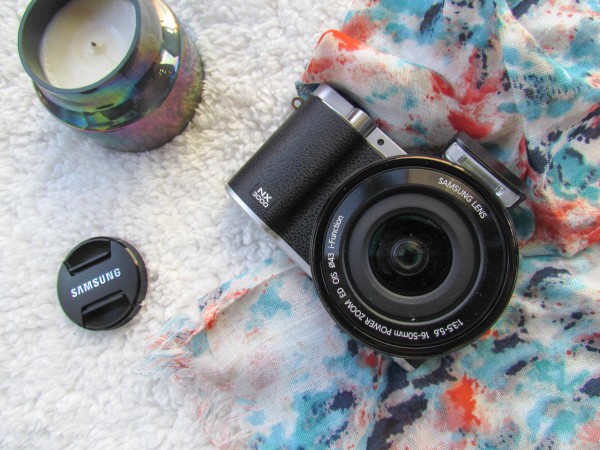
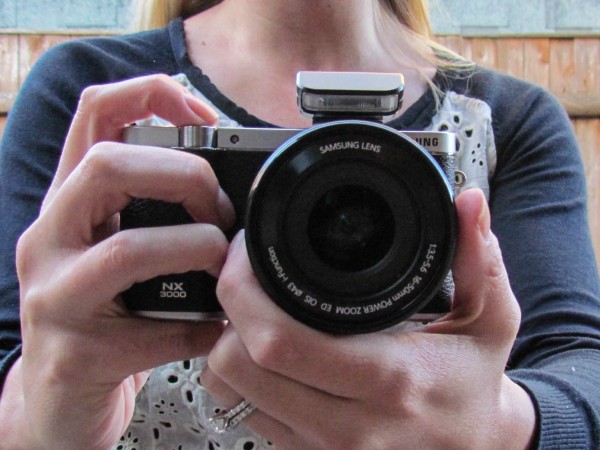
As I build my photography skills, I’m excited to share that Samsung is giving me the opportunity to try out their Samsung NX3000 camera for a few months! I’m already seeing a big difference in my pics and I’ll be sharing more about my experience using this camera in the coming months. I was drawn to this camera for a few reasons:
- Great feedback from other bloggers and online reviews
- Nice and compact but doesn’t sacrifice the features – fits right in my bag
- Screen that flips out for fun selfies or pics taken using a tripod
- Wifi connection for easy uploading to my computer, Instagram, etc.
And while we’re on the topic of my photography journey, I wanted to share a few beginner photography tips that have already made a huge difference in my pics. Lots more to come – and full disclaimer that I am certainly no expert and have a lot to learn!

1. Lighting is important. Trust me, paying attention to this will drastically improve your photos. I’ve been finding it best to stage photos outside, a couple hours within sunrise or sunset, not in direct sunlight. This can be challenging during the winter months or when shooting home decor indoors, so I’ll be purchasing a ring light soon to help with those situations.
2. Aperture = that professional, blurry background look. Aperture is measured in “F numbers” – the lower the number, the more blurry your background will be. When I’m shooting portraits, recipes or products where I want the background to be blurry to focus on the subject, I tend to use f/4.0. If I’m taking a scenic shot, then I have f value higher, so it lets in more light and the whole frame is in focus. And since I haven’t quite learned how to use the manual settings, I’ve been using “Aperture Priority” setting, which allows me to select the aperture and the camera automatically picks the appropriate shutter speed.
3. Composition is where you can get creative. There are a few standard tips to keep in mind, but for the most part, this is how you make your photos your own. Composition basically is how you arrange items in your photo. In general, the rule of thirds will help – picture a 3×3 grid and then position the main subject at one of the corners of the center rectangle. From there, you can get creative and develop your own photography style.
4. Shutter speed + ISO sensitivity are also key. They’re the other 2/3 of what’s called the “exposure triangle,” along with aperture. I’m learning more about these, but I do know that shutter speed controls how quickly the shutter opens and closes – and the amount of light that is let in. ISO sensitivity is a bit more challenging to explain, so I plan on sharing examples in future posts. Usually, you’ll want the ISO to be lower to prevent “noise” in your photo unless you’re shooting at night or in the dark.
5. A little editing can go a long way. This is another area I have a long way to go on, but I started playing around with the basics on my iPhone using the VSCO Cam app and now I have Adobe Lightroom 5. It’s pretty amazing how easily you can transform your photos to make them so much more visually appealing. Changing the contrast and composure are the two things I’ve been focusing on.
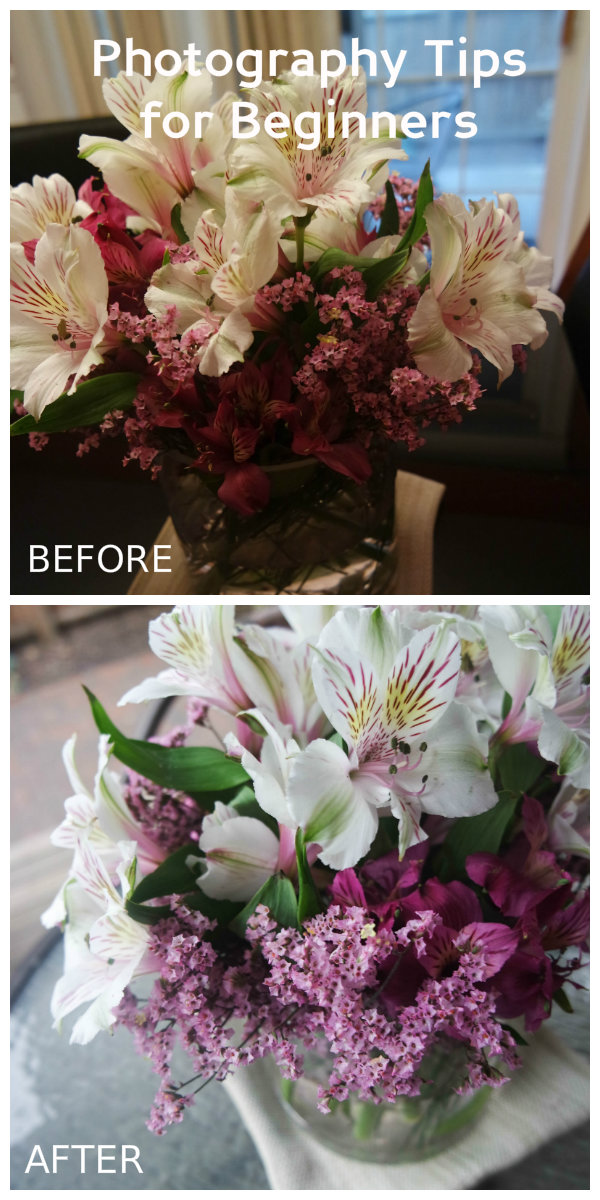
Example below! The top photo was taken indoors using Aperture Priority setting on f/4.0 with no photo editing. The bottom was taken with the same aperture setting but was taken outdoors in natural light and then I edited it just a tiny bit in Lightroom.

Update: Another great mirrorless camera option is the Sony a5100 or Sony a6000
. The a5100 is super small but still gives you great results, and the a6000 is still small in size but has some nice updated features. I’ve been using the a6000 for a few weeks and love it so far!
What photography tips do you live by? Let us know in the comments below and feel free to include links to your favorite tutorial posts!
I use to take photography classes back in school and it taught you a good bit of stuff! Great post!